DIY Dry Erase Clipboards!

Monday, August 28, 2017
Ever since I was in college, a clipboard has been a staple therapy item. SLPs almost always have a clipboard glued to their arms. But recently I learned a trick that has changed the clipboard game forever. And I am excited to share this brilliant idea with you!
This post contains Amazon Affiliate links for your convenience. This means if you purchase something from the links provided, I may make a small commission. 
A few weeks ago I was laying on my couch and watching Instagram stories, (it's a pretty regular daily routine for me after the kids go to bed!) when I saw this genius idea from Ashley at Teach Create Motivate! She shared how she used a roll of white board contact paper to cover the back of clipboards and some of the desk tops in her classroom. 
I was so excited about this because there have been so many times during a therapy session that I had wished I had a whiteboard handy to better explain a direction, illustrate the meaning of a new vocabulary word, or better show articulation placement. Since I am a traveling SLP and no longer have a classroom, my therapy sessions are usually on the floor, in a break room, or in the hallway. It's been years since I have had a glorious white board at my fingertips. So immediately I jumped on my Amazon app and looked for the white board contact paper. Since I didn't need a large roll, I found a pack of individual self stick dry erase sheets for less than $9.00. 
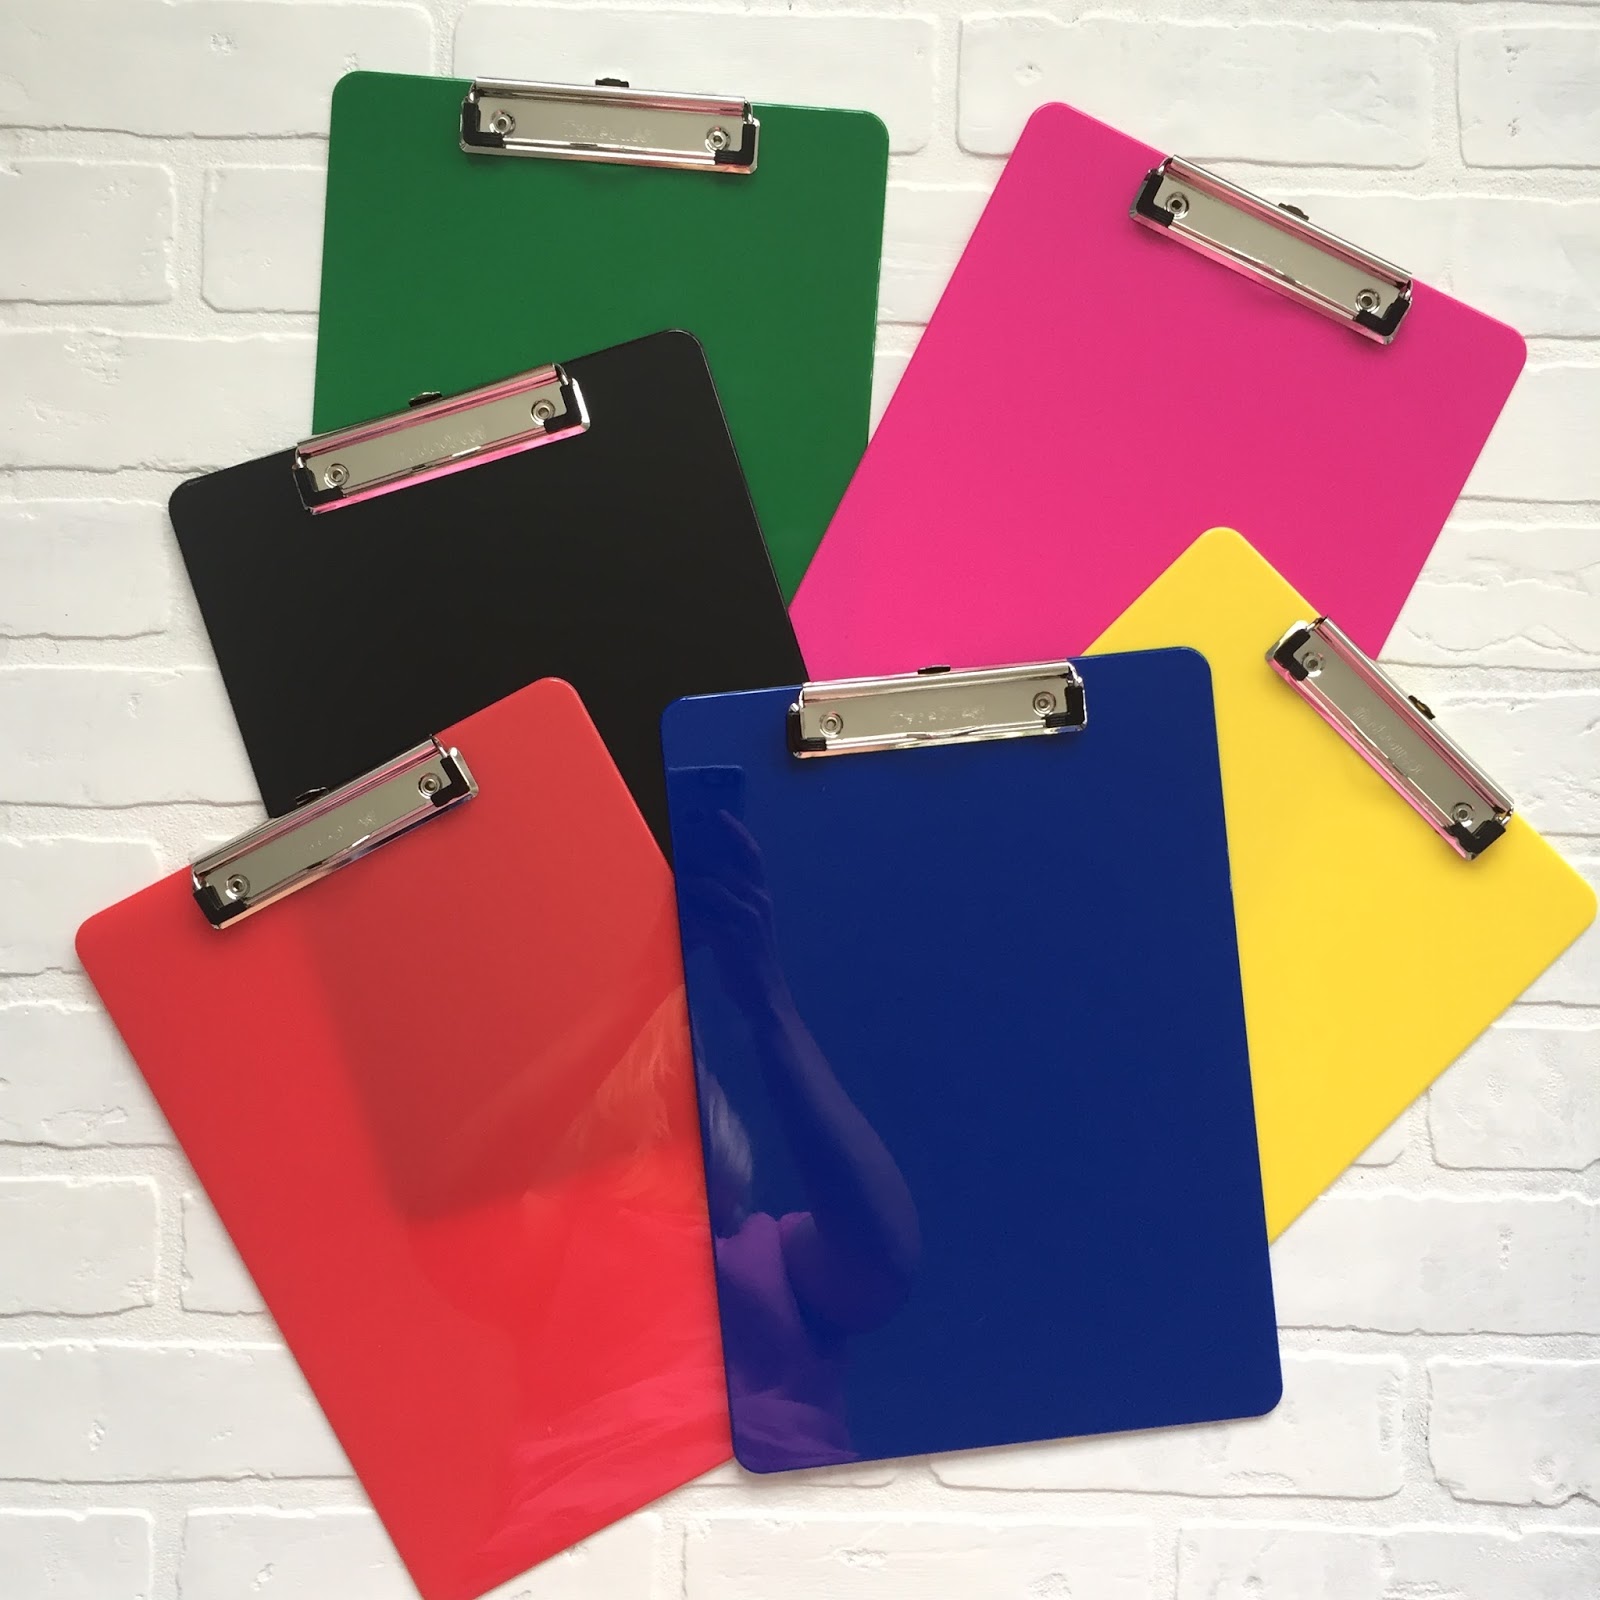
They work perfectly and fit just right on the back of a standard clipboard. No trimming necessary! Just peel off the backing, stick in on the back of the clipboard, then smooth out the air bubbles. Of course I then wanted to have a clipboard available for my students and one for Kenzie since she was now in kindergarten, so I bought a pack of clipboards, too. 
 How fun are these? I am so excited to have these clipboards now. As I was making them, I kept thinking about what a fun gift these would be for co-workers! Enjoy!


It's Time to Ditch the Treasure Box!

Monday, August 21, 2017
As educators that work with children, we naturally want to reward them for their successes. Especially when working with students with special needs, the smallest gains should be celebrated! When I started my career in the school system, I used a treasure box. I would spend my own money and buy trinkets from the dollar store on a regular basis. I eventually got tired of spending my own money on "junk" that probably got thrown in the trash a few days later.
Fast forward a few years, and I started using Brag Tags. These were fun, motivating tags that my students could proudly wear or have displayed in the speech room whenever they met a goal or did something pretty amazing. 
 Now that I am traveling to different homes, schools, and daycares to see my students, brag tags don't quite work. I still love the idea but needed something a little more travel friendly. This is when Brag Bracelets were born!
These bracelets are very easy to keep with me as I travel to each student. I print them, cut them out, and store them in a plastic container (a large zip lock baggie would work, too). I made them black and white so they are ink friendly but super fun to print on colorful paper! Another fun idea is printing them on white paper and letting your student color them before they proudly display their bracelets of honor!
 I created 44 different Brag Bracelets with a fun Emoji theme (who doesn't love Emojis?!) and added them to my store for you to enjoy with your students, too! If you would like to see any other sayings added, please send me an email and I can add more to this packet. You can check them all out, here!
 I hope you have an amazing year with your students!


Why I Love Using My Little House in Speech Therapy!

Monday, August 14, 2017
Sometimes you come across an item you just know will be perfect to use for speech and language therapy. One that is engaging and gets your mind racing with ideas of how you can use this to target so many goals. This happened when I was first introduced to My Little House!
My Little House was created by speech language pathologist, Yvonne Johansen. She designed this house after years of using a felt board in therapy. One of the coolest parts of this house is that it can be laid flat or velcroed together to be a 3-dimensional house! 
 There are endless goals that can be targeted with this house. Since it was created by an SLP, each piece of this house was designed with an educational purpose. For example, in the bedroom, there is a clock on top of the nightstand, a pair of shoes under the bed, and a cat behind the mirror. There are so many opportunities to work on positional words in each room of the house!
My Little House comes with 36 felt pieces designed to go with the house. But I have used these pieces to target categorization of house hold items, vocabulary, following directions, and descriptive words sometimes before we even touch the house.  
It has also elicited so much language using it in structured play based therapy sessions. This is a perfect opportunity to work on requesting items. Sometimes I give the child the wrong item on purpose so we can also work on yes/no questions, too! Since the pieces match the items printed on the house, I've also use this to target matching/same/different concepts. 
My Little House is also reversible, and will look like the outside of the house when set up that way. This can be fun for introducing the lesson with a story about the house or a fun inferencing activity where your students could guess what is inside each room before you reverse it. 
As a traveling SLP, I love that this can be folded flat and easily carried in and out of therapy settings. It also takes up minimal room in my trunk which is important these days! This would be a perfect addition to a therapist's bag of tricks or for a classroom.  It would also be a great purchase by a parent so they could have some fun with language at home!  To learn more about My Little House or to purchase your own, click here!
Use code: SIMPLYSPEECH to get 10% off your order!

Thank you, My Little House for sponsoring this post!

DIY Desktop Organization Toolbox!

Monday, August 7, 2017
I cannot believe summer is already coming to an end. Even though I am not "going back to school" and starting fresh, I use this time to refresh my organization techniques and revamp my style! For quite a while now I have seen teacher toolboxes all over social media. I had been dying for one but didn't have the space. This summer I did some major purging and finally was able to bring this baby home!
This post contains Amazon Affiliate links. This means if you purchase something from the links provided, I may make a small commission. 
If you haven't seen one of these boxes yet, they are a tool organizer that you usually see used for screws and nails. I remember my dad always had these in the garage for his gadgets. I ordered mine from Amazon but you can probably find them at any hardware store. There are many different types and styles with different numbers of drawers, but here is a direct link to the one I ordered: Toolbox
Unfortunately you won't find these in pretty colors. I mean, I get it, they're supposed to be in a garage. But this dull grey color just wouldn't cut it. So I bought some mint colored spray paint from Home Depot and added this job to my husband's Saturday honey-do list! It turned out so pretty!
Now what's an organization toolbox without pretty organization labels?! This tropical watercolor clipart was calling my name as soon as I saw it. I think I may make matching binder covers with this clipart too....
You can download these labels in my TpT store for free here: labels. They are editable but if you want to match the font, it's called Coffee Makes Me Smile by A Perfect Blend.
Print out the labels on cardstock, cut, and secure them in the box with a little bit of scotch tape. I didn't laminate them but that may make them a bit more durable.
Now my desk looks so cute with an extra pop of color! And my desk drawers have much more space now that all my gadgets and office supplies are stored in here.
Enjoy!

Powered by Blogger.